
Track Conversions with GTM Scripts and a Custom Image Pixel on DSP
Important: This guide covers Google Tag Manager (GTM) implementation, not Google Analytics.
🔧 STEP 1: Inject GTM Scripts into Your Landing Page
You need to add the GTM tracking scripts to the web page you want to track (typically the "Thank You" page). Choose one of the following integration methods based on your setup:
Option 1: Manually Edit the Page’s HTML
-
Insert the first GTM code block into the
<head>section of your page, as high as possible. -
Insert the second GTM code block into the
<body>section, also as high as possible. -
✅ Avoid placing them inside other tags or hidden containers.
Option 2: Use Your Page Builder’s “Tracking” Settings
Most landing page platforms have a “Tracking” or “Custom Code” section where you can paste the GTM code blocks:
-
Paste one block in the
<head>section field. -
Paste the other in the
<body>section field.
Option 3: Use GTM Container ID (Native Integration)
If your platform offers native GTM integration:
-
Locate the GTM container ID in your GTM dashboard
-
Enter it into your page builder’s GTM field or plugin.
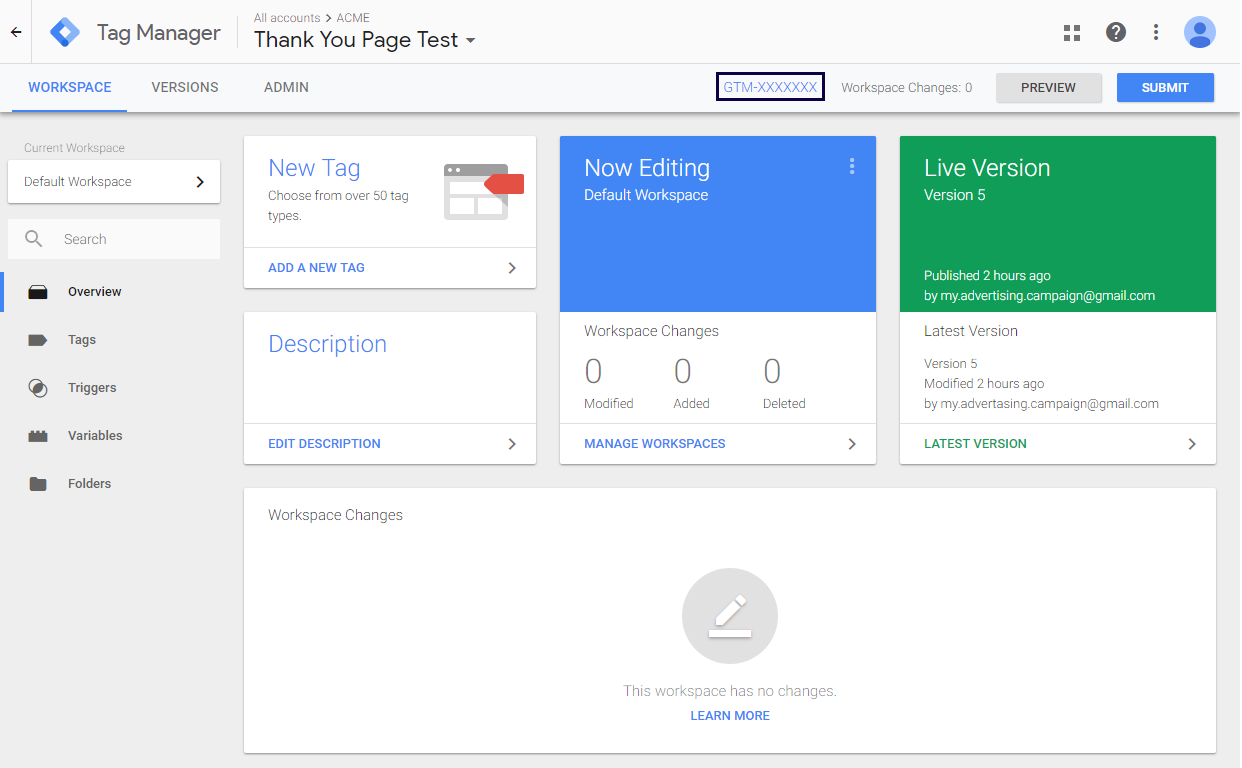
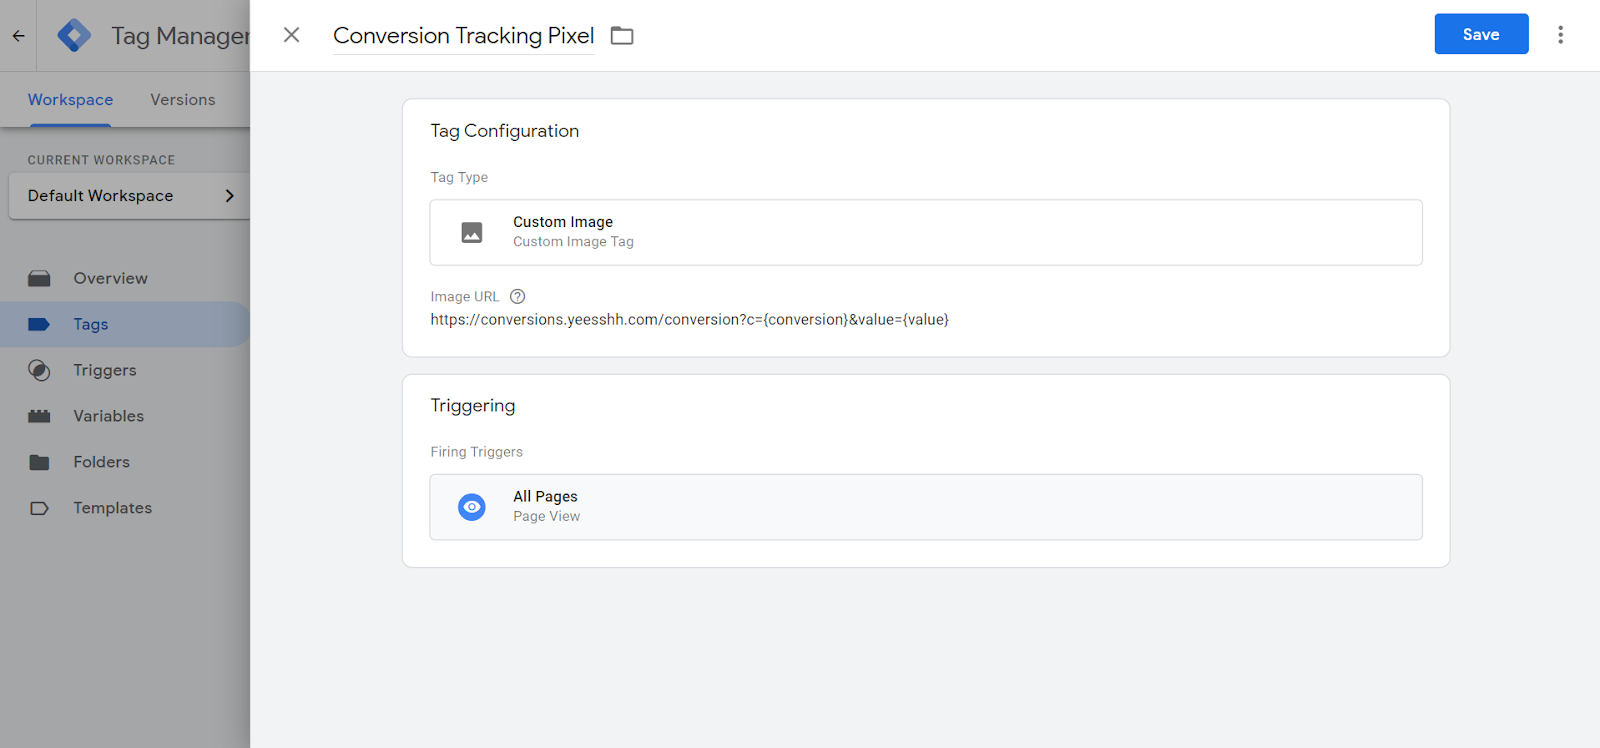
🏷 STEP 2: Add a Conversion Tag in GTM
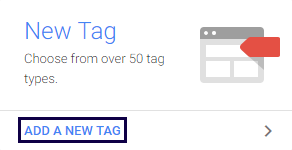
- Go to your GTM Dashboard and click “Add a new tag.”
- Name the tag (e.g., “DSP Conversion Pixel”).
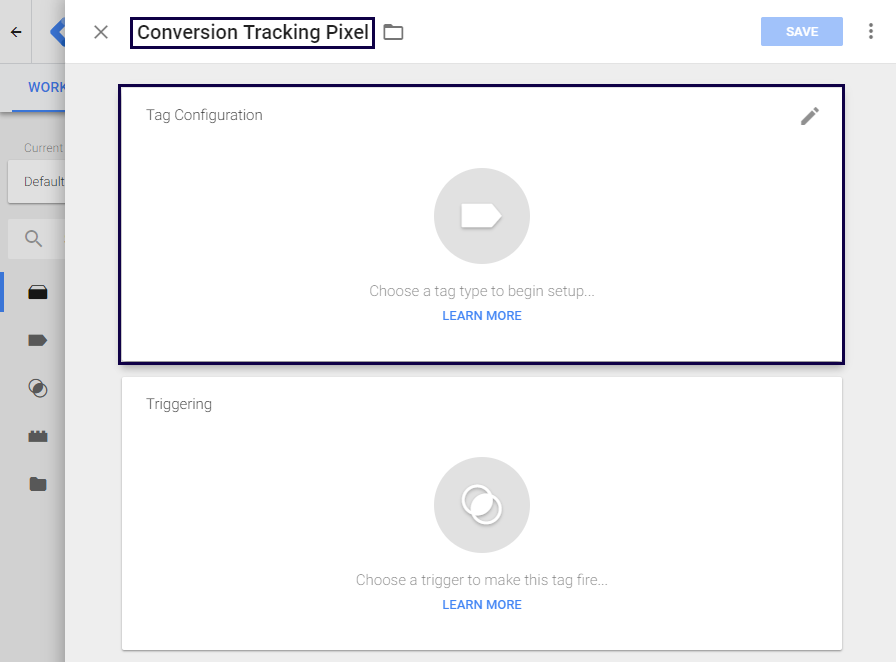
-
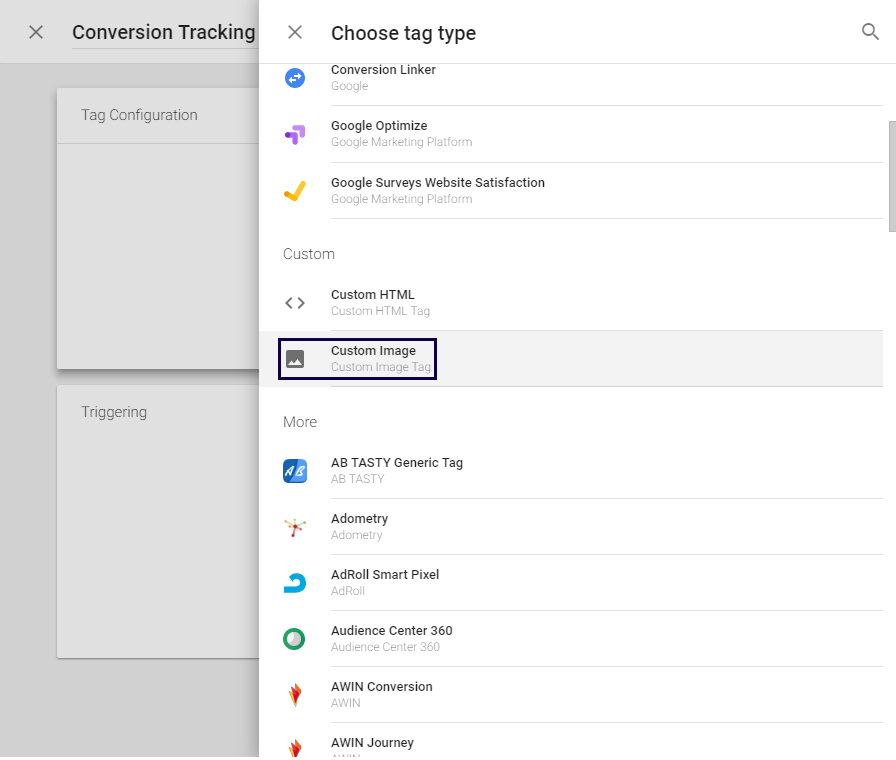
Tag Type: Custom Image
-
Image URL:
https://xml.yeesshh.com/conversion?c={click_id}&value={value}

Triggering:
-
Select “Page View” as the trigger
-
This ensures the tag fires when the Thank You Page loads.
-
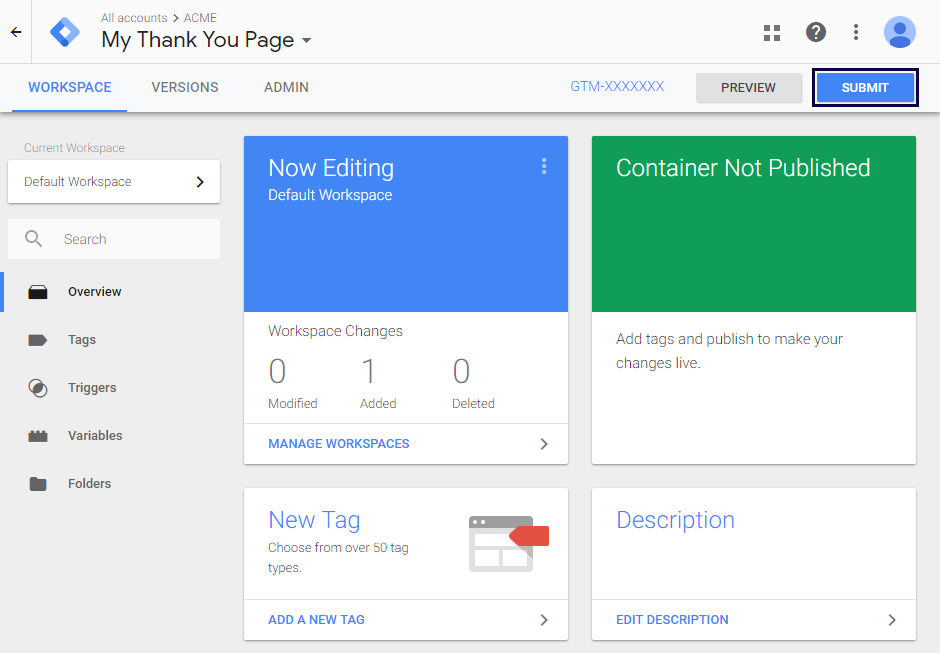
Click Save, then Submit the container.
-
Add a Version Name (e.g., "DSP GTM Setup") and click Publish.

🎯 STEP 3: Create Your Campaign in DSP
-
Go to your DSP panel: Campaign > Create > Enter details
-
In the Creative Destination URL field, paste the landing page URL that contains the GTM code.
-
Set up your conversion goal:
-
Go to “TQ & Analytics” > “Conversion Tracking”
-
Enter a Goal Name (any name is fine).
-
Leave “Conversion Value” as
1.
-
You're all set! GTM will now track conversions for your DSP campaign.